Zoho offer hosted email allowing to use your own domain name. The free option allows you to have up to 5 emails, if you want more there are paid options. This document will take you through setting up an account and setting up your hosted email.
You will need to go to Zoho’s website, https://www.zoho.eu/mail/, to sign up.

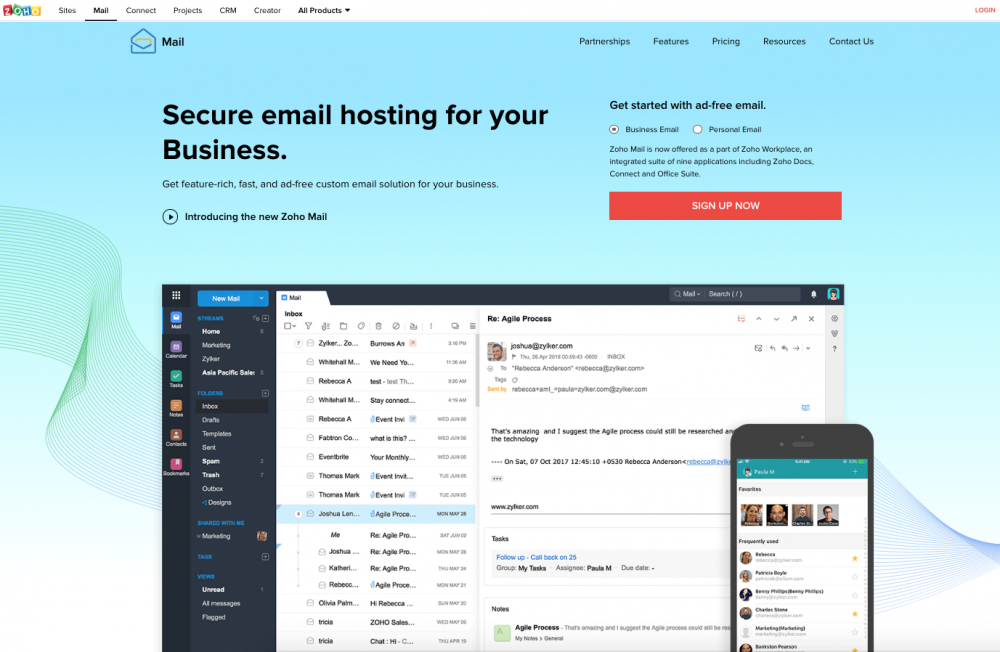
Click on the Sign Up Now button and then select the account option that you want. You'll need to scroll down to the bottom of the page to see the 'Free Plan'.


You can get emails for 5 users with the free option and you will only be able to access these through your web browser.

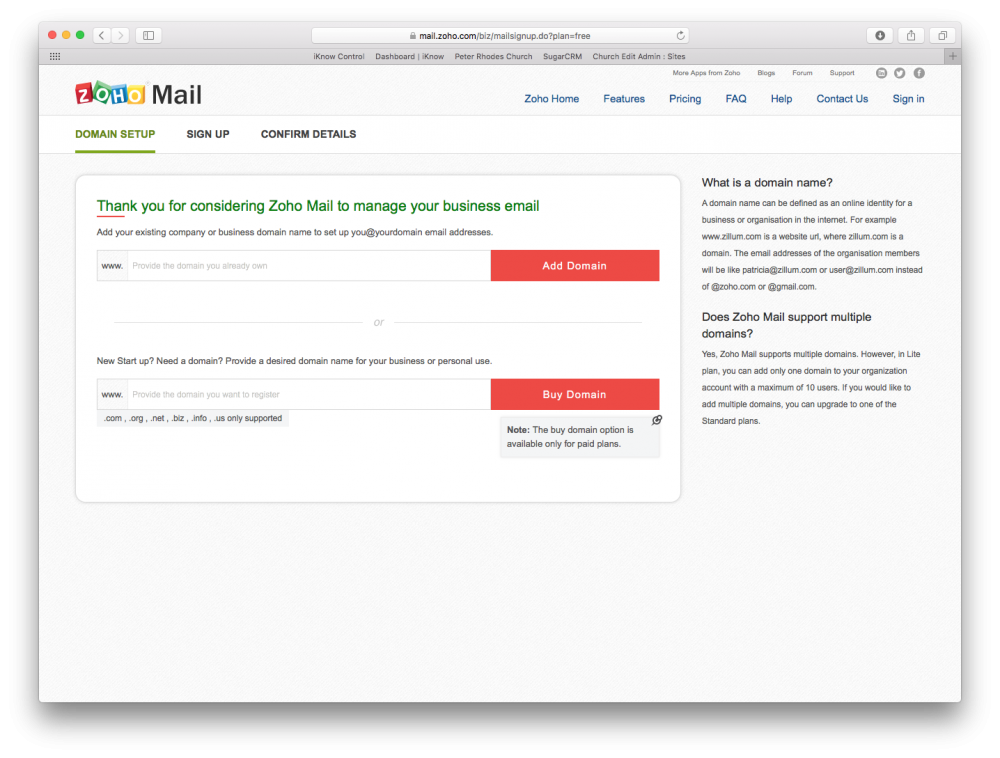
The first thing you will need to do is enter your domain name, this is the web address that you use to access your website, ie yourchurchname.org.uk. This will be the part of your email address after the ‘@’ symbol, ie yourname@yourchurchname.org.uk, and click ‘Add Domain’.

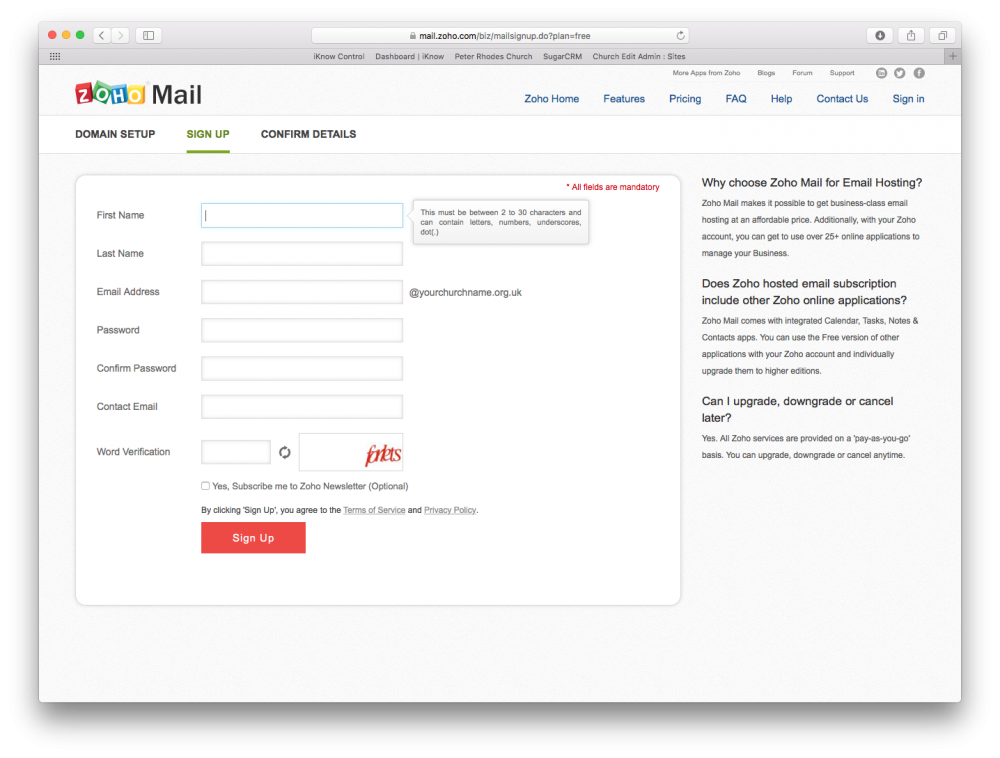
On the Sign Up page you will need to enter your name, create yourself an email address and create a password for your account. You will need to add a contact email address for a confirmation email to be sent to.

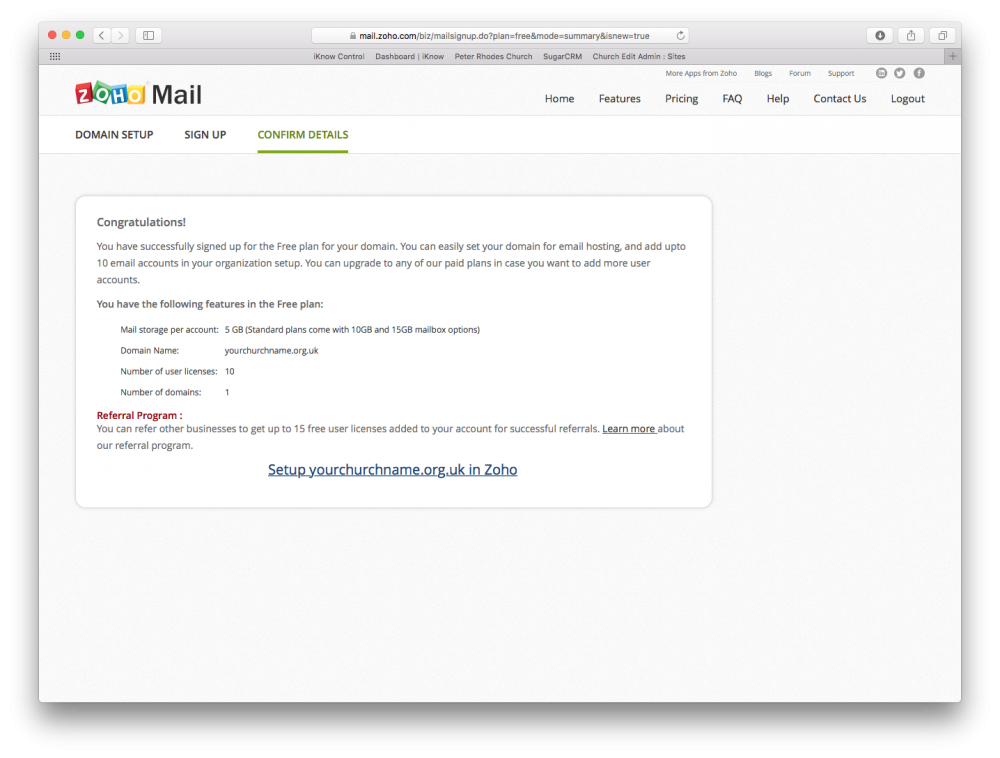
Once you have completed the form and clicked Sign Up you will see the page above and will receive an email (below) with a confirmation link. You will need to click the link in the email to confirm your registration before you can complete the set up of your domain in Zoho.


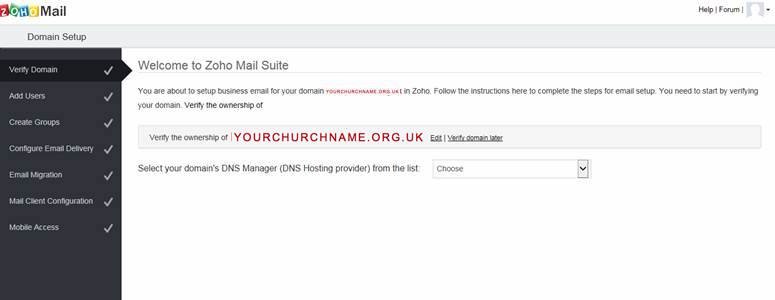
Once you have confirmed your registration you will need to verify that you own the domain you are setting up. You will need to select the company who hosts your DNS from the dropdown list. If you're hosting has been arranged through us you will need to select 'Amazon'. If you control your own domain, select their name if it appears in the list, otherwise select 'Other'.

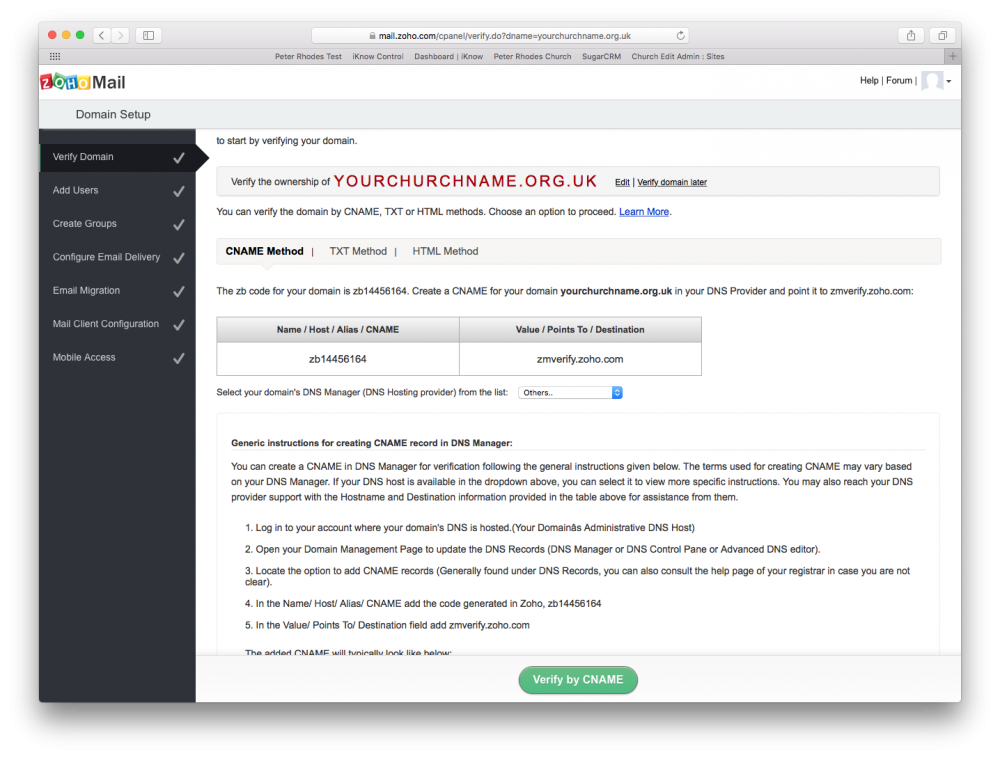
If your domain name was purchased by us, or has been transferred to us, when your site was set up, you will need to contact us to add the CNAME record so the domain can be verified. If you control your own domain, you will need to add the record yourself. It can take up to 24 hours for the CNAME record to be propogated through the domain name servers, though it is usually around 30 to 60 minutes. After 30 minutes click the Verify by CNAME button and, if the record has been successfully added, you will be able to continue and add further email addresses. If it is not successful, you will need to wait and try later.

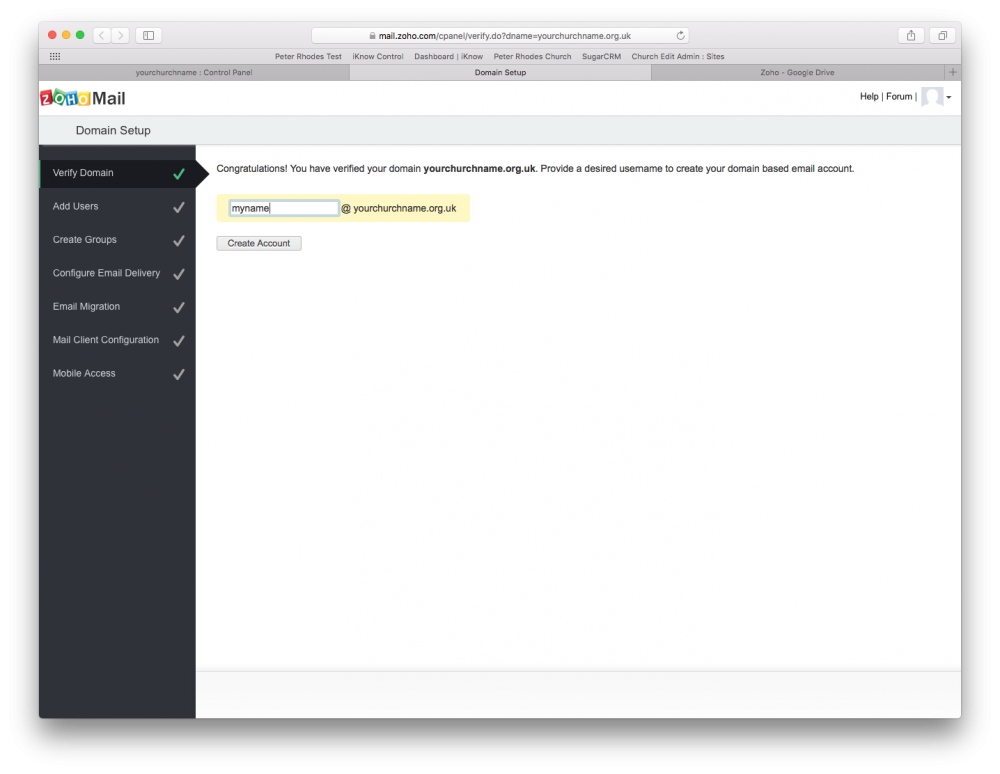
Once you have successfully verified your domain name, you will need to create a username to create your domain based email account. To do this you will simply need to add the name you would like to use for the email address, ie yourname@yourchurchname.org.uk, and click the Create Account button.

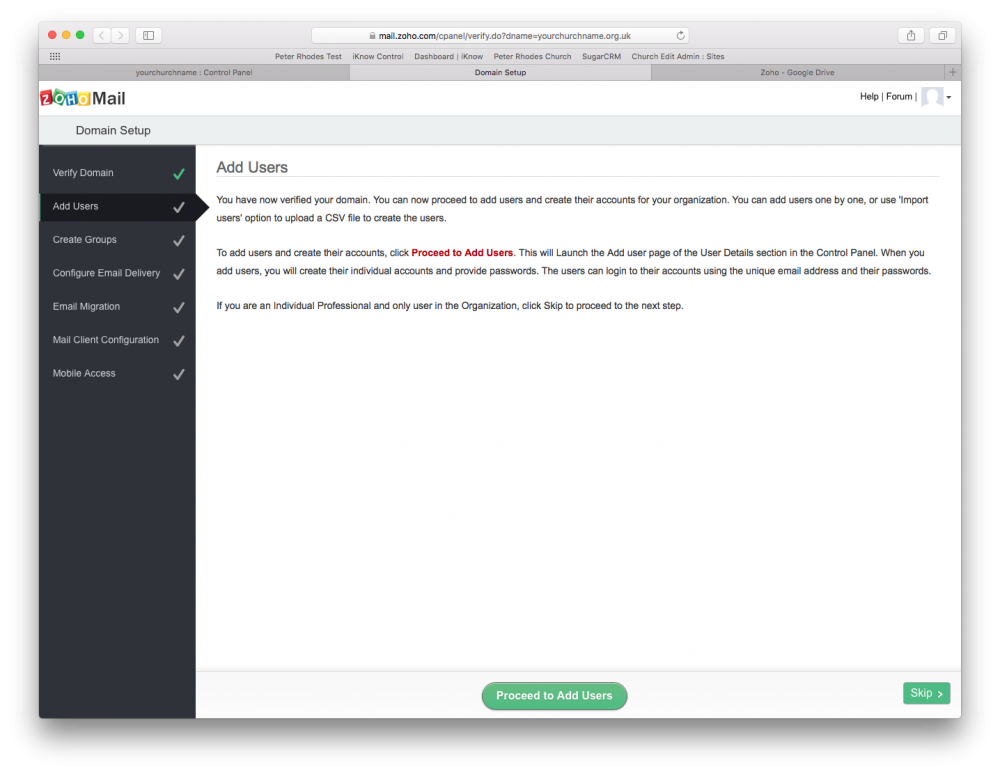
You will now be able to add further email addresses, or users, to your account by clicking Proceed to Add Users.
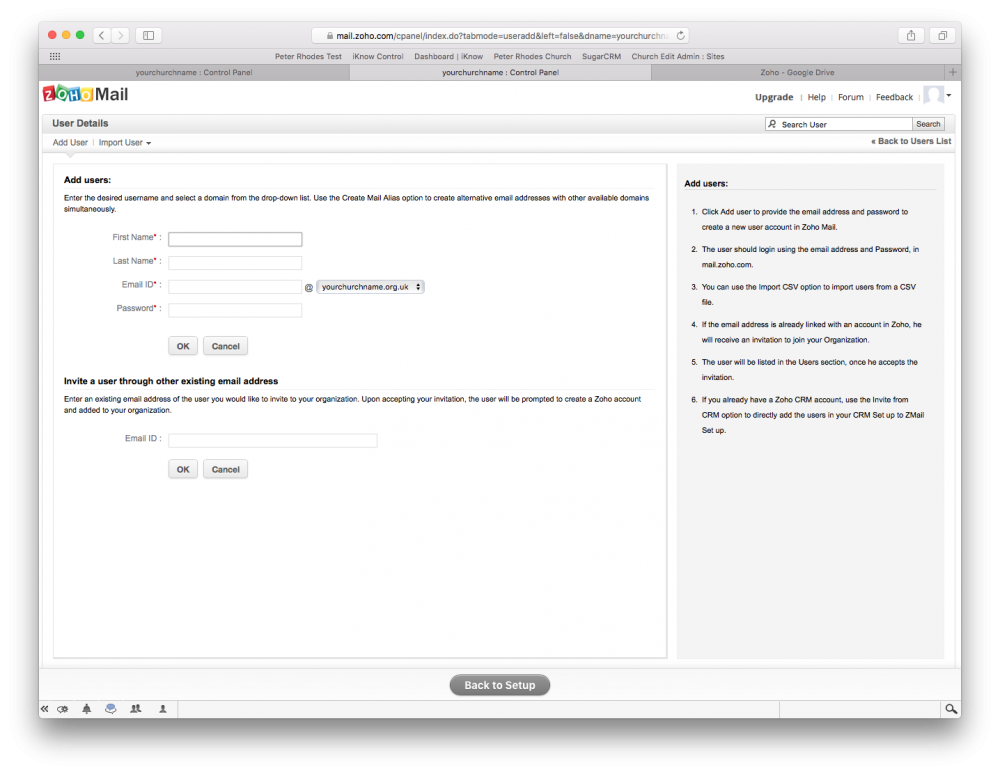

To add an email address, you will need to enter the name of the person who will control this email address, create an email ID and create a password. Once you have done this, click OK and the email address will be created. You will then need to pass on the email address and password to the relevant person.

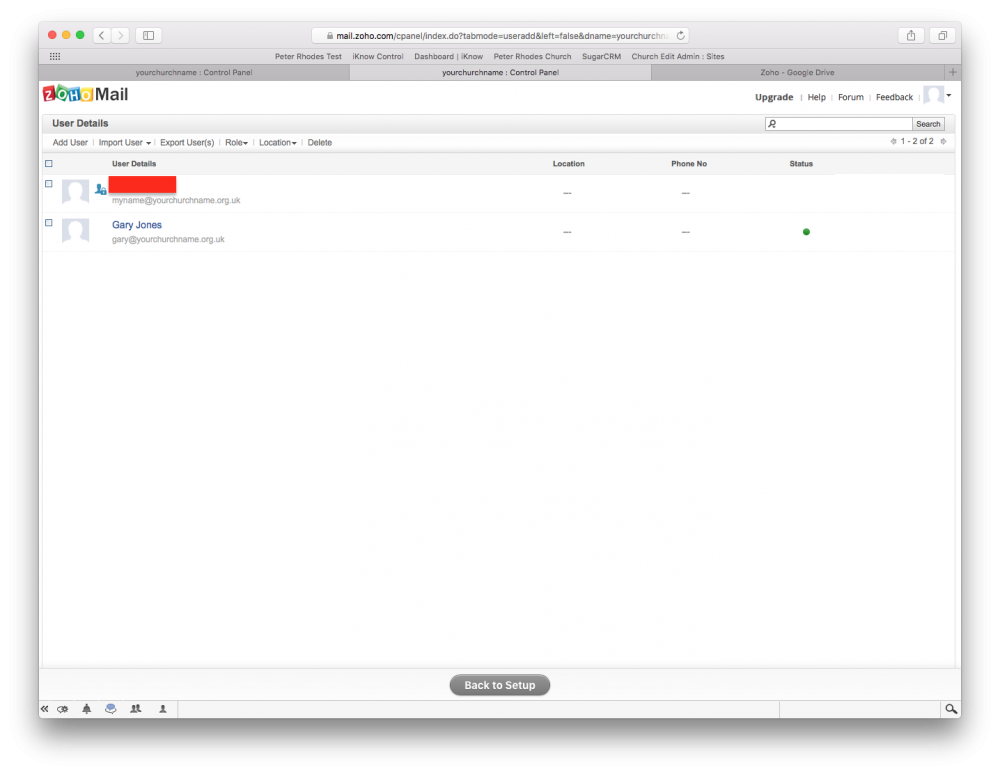
To add more email addresses, click Add User at the top of the page.

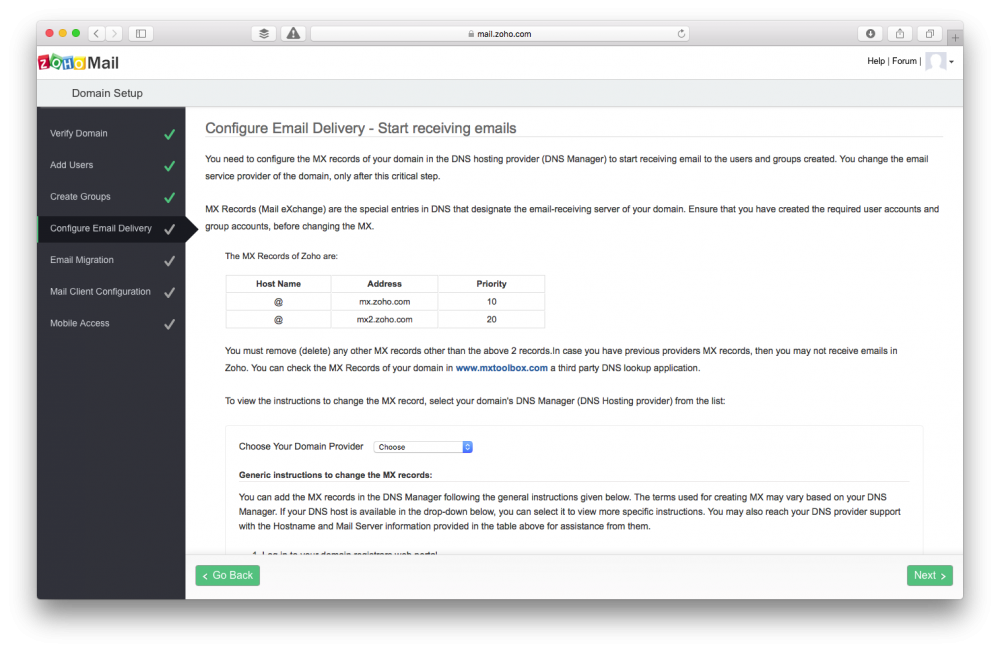
Once you have create your email addresses your MX records will need to be configured so that you can receive emails. If we control your domain you will need to contact us to have the MX records configured. If you control your own domain you will need to carry this configuration out yourself. Once this is done your email is ready to use. There are instructions on the Zoho site for configuring your email client if you are not planning to use the web interface. There are also details of Zoho’s mobile apps to allow you to use your email accounts on your mobile devices.